
****
Introduction
In the competitive world of real estate, standing out is crucial—especially in rural markets where vast landscapes and unique property features can be difficult to capture with traditional photography. Drone photography has revolutionized the way properties are marketed, offering breathtaking aerial views that highlight acreage, topography, and surrounding amenities.
For rural real estate agents, drone photography isn’t just a luxury—it’s a necessity. Buyers often rely on visuals to gauge a property’s potential, and aerial shots provide a perspective that ground-level photos simply can’t match. This guide will walk you through everything you need to know to get started with drone photography, from legal considerations to shooting techniques and editing tips.
Why Drone Photography is a Game-Changer for Rural Real Estate
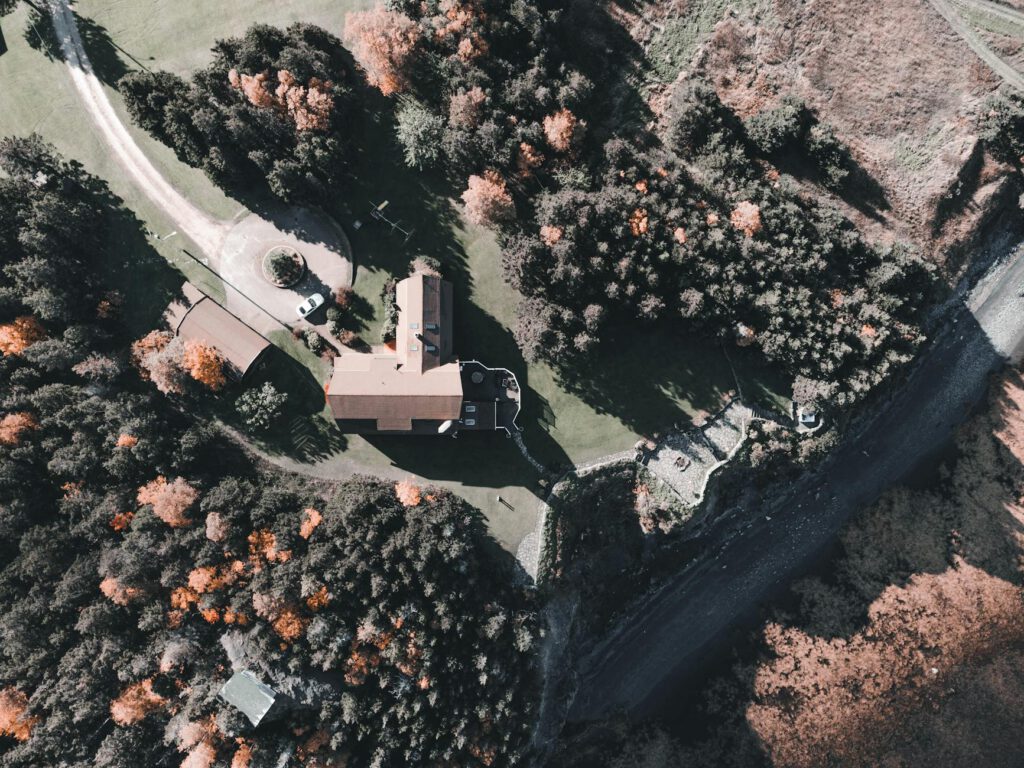
Rural properties come with unique selling points—expansive land, scenic views, and proximity to natural features like lakes, forests, or farmland. Traditional photography can’t fully convey these assets, but drone photography can.
Key Benefits:
- Showcases Land Size & Layout – Aerial shots help buyers visualize property boundaries and usable space.
- Highlights Unique Features – Capture barns, ponds, trails, and other rural amenities from above.
- Creates Emotional Appeal – Stunning landscapes attract more interest and higher offers.
- Competitive Edge – Many rural agents still rely on basic photos; drone imagery sets you apart.
Legal and Safety Considerations for Drone Photography
Before taking flight, it’s essential to understand the legal and safety requirements for drone use in real estate.
1. FAA Part 107 Certification (U.S.)
If you’re in the U.S., the Federal Aviation Administration (FAA) requires a Part 107 Remote Pilot Certificate for commercial drone use. This involves:
– Passing a knowledge test on airspace regulations, weather, and flight safety.
– Registering your drone if it weighs over 0.55 lbs.
Pro Tip: Even if you hire a drone pilot, ensure they’re certified—using unlicensed operators can lead to fines.
2. Local and International Regulations
- Canada: Requires a Basic or Advanced RPAS Certificate from Transport Canada.
- UK/EU: Pilots must follow CAA/EASA drone regulations, including operator IDs and competency tests.
- Privacy Laws: Always obtain permission before flying over private land not listed for sale.
3. Safety Best Practices
- Avoid flying near airports, power lines, or wildlife.
- Check weather conditions—high winds and rain can destabilize drones.
- Maintain line-of-sight at all times.
Choosing the Right Drone for Real Estate Photography
Not all drones are created equal. For professional real estate marketing, you need a drone with:
Key Features to Look For:
- High-Resolution Camera (20MP+) – Essential for crisp, detailed images.
- Gimbal Stabilization – Reduces shaky footage.
- GPS & Obstacle Avoidance – Prevents crashes.
- Long Battery Life (20+ minutes per charge) – Allows for multiple shots in one session.
Top Drones for Real Estate Agents:
- DJI Mavic 3 Pro – 4/3 CMOS sensor, 5.1K video, 43-minute flight time.
- Autel EVO Lite+ – 6K camera, 40-minute battery, excellent low-light performance.
- DJI Air 3 – Dual-camera system, 46-minute flight time, great for beginners.
Budget Tip: If you’re just starting, consider renting a drone before investing.
Mastering Drone Photography Techniques for Rural Properties
Taking great aerial photos requires more than just flying high. Here’s how to capture compelling shots:
1. Optimal Flight Heights & Angles
- Low Altitude (50-100 ft): Highlights property details (e.g., house structure, landscaping).
- Medium Altitude (150-250 ft): Shows the property in context with surrounding land.
- High Altitude (300-400 ft): Best for showcasing large acreage.
2. Golden Hour Shooting
The best lighting occurs during sunrise and sunset, when shadows are soft and colors are warm. Avoid midday sun, which creates harsh contrasts.
3. Rule of Thirds & Leading Lines
- Use the rule of thirds grid (available in most drone apps) to compose balanced shots.
- Incorporate natural leading lines (roads, fences, rivers) to guide the viewer’s eye.
4. Dynamic Video Clips
- Orbit Shots: Circle the property for a cinematic effect.
- Reveal Shots: Start close to the house, then pull back to show the entire lot.
Editing and Enhancing Drone Photos for Maximum Impact
Raw drone footage often needs polishing. Here’s how to enhance your images:
Recommended Editing Software:
- Adobe Lightroom – Best for color correction and exposure adjustments.
- Skylum Luminar Neo – AI-powered sky replacement for dull weather.
- DJI Fly App – Quick edits for on-the-go adjustments.
Editing Tips:
- Adjust Exposure & Contrast – Ensure the property stands out without over-editing.
- Sharpen Details – Enhance roof textures, fences, and landscape features.
- Remove Distractions – Use Photoshop to erase power lines or debris.
Integrating Drone Photos into Your Real Estate Marketing
Great photos are useless if they don’t reach potential buyers. Here’s how to maximize exposure:
1. MLS Listings
- Upload 3-5 high-quality aerial shots to your listing.
- Include a property boundary overlay (using Google Earth or drone mapping software).
2. Social Media & Virtual Tours
- Share before-and-after comparisons (ground vs. aerial).
- Create short drone video reels for Instagram and TikTok.
3. Printed Marketing Materials
- Use drone images in brochures, postcards, and yard signs.
FAQs About Drone Photography for Rural Real Estate
1. Do I need a license to fly a drone for real estate?
Yes, in most countries, commercial drone use requires certification (e.g., FAA Part 107 in the U.S.).
2. How much does a professional real estate drone cost?
Entry-level drones start at $1,000, while high-end models (e.g., DJI Mavic 3) cost $2,000+.
3. Can I fly a drone over someone else’s property?
Legally, you can fly over private land in the U.S. if you’re in unrestricted airspace, but ethically, it’s best to avoid non-listed properties.
4. What’s the best drone for beginners?
The DJI Mini 4 Pro is lightweight, affordable, and doesn’t require FAA registration (under 250g).
5. How do I handle windy conditions?
Use a drone with strong wind resistance (e.g., DJI Mavic 3 handles 26 mph winds) and avoid flying in gusts over 20 mph.
Conclusion
Drone photography is no longer optional for rural real estate agents—it’s a must-have tool for showcasing properties in their best light. By understanding regulations, investing in the right equipment, and mastering shooting techniques, you can create stunning visuals that attract more buyers and close deals faster.
Start small, practice consistently, and soon, aerial photography will become a seamless part of your marketing strategy. The sky’s the limit when it comes to selling rural real estate with drones!
This article provides a comprehensive, actionable guide for rural real estate agents looking to leverage drone photography, ensuring they stay ahead in a competitive market.